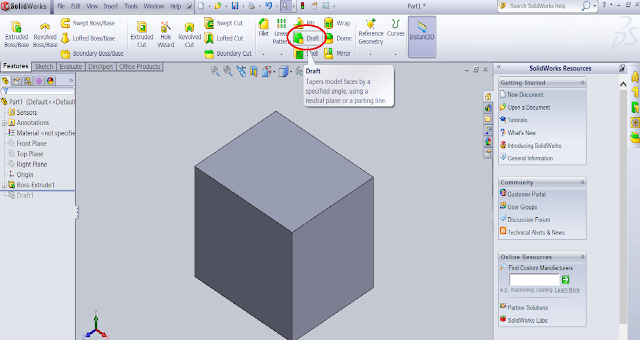
The Draft function is used to create angle at certain face.This function is widely used on injection moulding parts. Parts fabricated by injection moulding parts would typically require certain draft angle to facilitate the removal of the parts from the mould.
Accessing the Function
The easiest way to access the function is through the Features ribbon.Alternatively, it could be accessed through Insert > Features > Draft.
 |
| Accessing Draft feature |
Draft Options
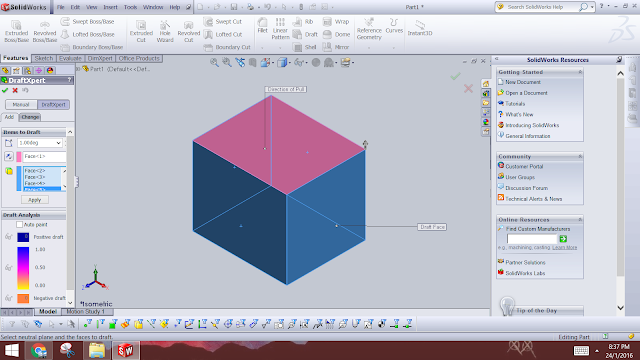
The Draft function is pretty straight forward as there is not many options to this feature. To create draft angle, first select the Normal Face (highlighted in pink on picture below). The Normal face is the surface perpendicular to the draft face. Next select the Surfaces to Draft (highlighted in blue on picture below).
 |
| Setting up Draft feature |
 |
| After adding Draft angle |


